Host your own kaspa node you can mine to

In this Post I want to show you how easy it is to setup your own Kaspa Node. In your personal Homelab or in the cloud using Linode.
Step 1
First of all, if you don’t have a homelab and want to host your node online you can sign up here at Linode and get a 60day 100$ credit. So you can basically host your Kaspa node the first 60days for free.
After you signed up to Linode we can start with creating our sever.
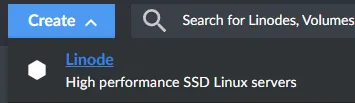
Therefore click on Create and choose Linode:
In this tutorial I choose the Ubuntu 20.04 LTS version as my operating system.
I never tested the process with the newer 22.04 LTS version.
Choose your region. –> Basically the nearest to your location, that your latency is as low as possible.
After this we can select the plan we wan’t to use for this system. I’ll choose the “Shared CPU” section and in this I use the Linode 4GB
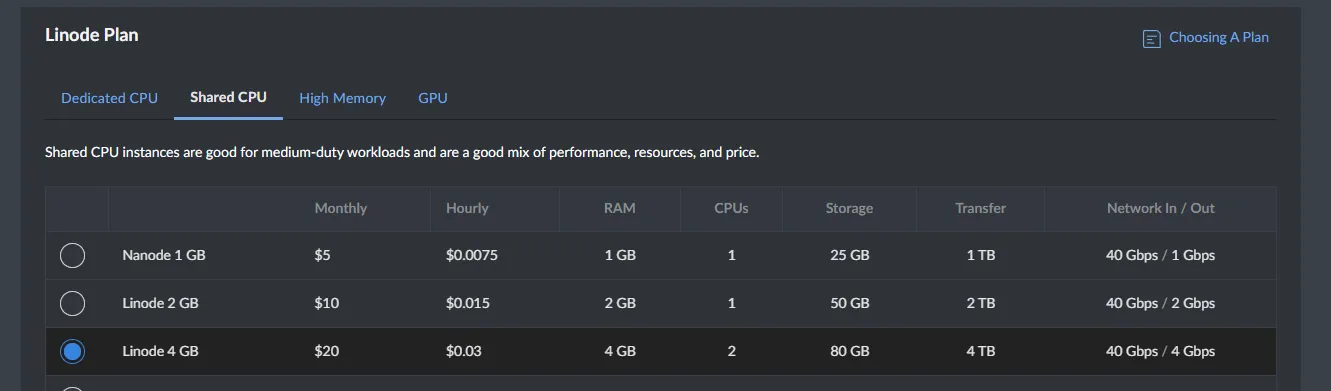
This will cost 20$ per month. But if you use the** referral link** of mine you can host this for 60days for free.
This Linode plan with 80GB of storage will work at the current given moment. But keep in mind that the size of the blockchain will increase and so will your space you used on the disk. So it might be clever to use a bigger version.
Now you can label your server as you wish. This is basically the name of the server in your interface.
And you should setup a password for this Linode, this is needed to connect to it via a ssh connection. Choose a strong password
Alternativly you can setup a ssh key but I will not cover this in this tutorial.
Now you can scroll all the way down and click on “Create Linode”.
The first Step is done! Congratulation!
Step 2
Now give it a couple seconds to boot up.
After its up and running you can copy the SSH Acces e.g*:
Type in your password and you’re logged in.
Now we need to run a couple of commands to update this server and download all the needed resources for the node and the stratum connection:
sudo apt updatesudo apt upgrade -ysudo apt-get install \ca-certificates \curl \gnupgsudo apt-get updatesudo mkdir -p /etc/apt/keyringscurl -fsSL https://download.docker.com/linux/ubuntu/gpg | sudo gpg --dearmor -o /etc/apt/keyrings/docker.gpgecho "deb [arch=$(dpkg --print-architecture) signed-by=/etc/apt/keyrings/docker.gpg] https://download.docker.com/linux/ubuntu $(lsb_release -cs) stable" | sudo tee /etc/apt/sources.list.d/docker.list > /dev/nullsudo apt updatesudo apt upgrade -ysudo apt-get install docker-ce docker-ce-cli containerd.io docker-compose-pluginThis will take a moment but it will install all needed dependencies you need on this server.
Now we can setup our Kaspa node on this machine. Simply use this command to spin up the docker container:
sudo docker run --pull always -d --restart unless-stopped -p 16110:16110 -p 16111:16111 --name kaspad supertypo/kaspad:latestThis will download all the necessary Kaspa Node information and begin with downloading the blockchain.
If you want to check the current state of this Node use this command:
sudo docker logs -n 100 -f kaspadIf you want to exit out of this log simply use CTRL + C
This will show you how much of the current blocks is been processed e.g. downloaded. If it hits 100% we can go ahead to the next step. This can take up two 2 hours
Step 3
Now we can begin with setting up our stratum container so that we can connect to this node and mine to it.
Fist we need to open a port on our node so that we can accept incomming miners connecting to port 5555. If you configure this setup in your homelab you need to find on your personal router the settings site for port forwarding and port forward the port 5555 to your server in your homelab.
If you use Linode you don’t need to specify a port due to that the firewall automatically accepts the ports we setup
Next we need to download a github repo. Therefore type in this command:
sudo apt install git(If you’re server doesn’t already got git in the latest version)
After that we can download the Git repo:
git clone https://github.com/onemorebsmith/kaspa-stratum-bridge.gitNow we need to change into the directory of this downloaded repo using:
cd kaspa-stratum-bridgenow it’s simply one last command we need to process:
sudo docker compose -f docker-compose-all.yml up -dThis will spin up three more docker container on your server. One that is connecting to your Kaspa Node and two more for data gathering and monitoring. A prometheus instance and a Grafana Dashboard.
Now you can select the IP address of your server that you will find in your Linode overview and past this ip into your browser with the port number 3000. Like this:
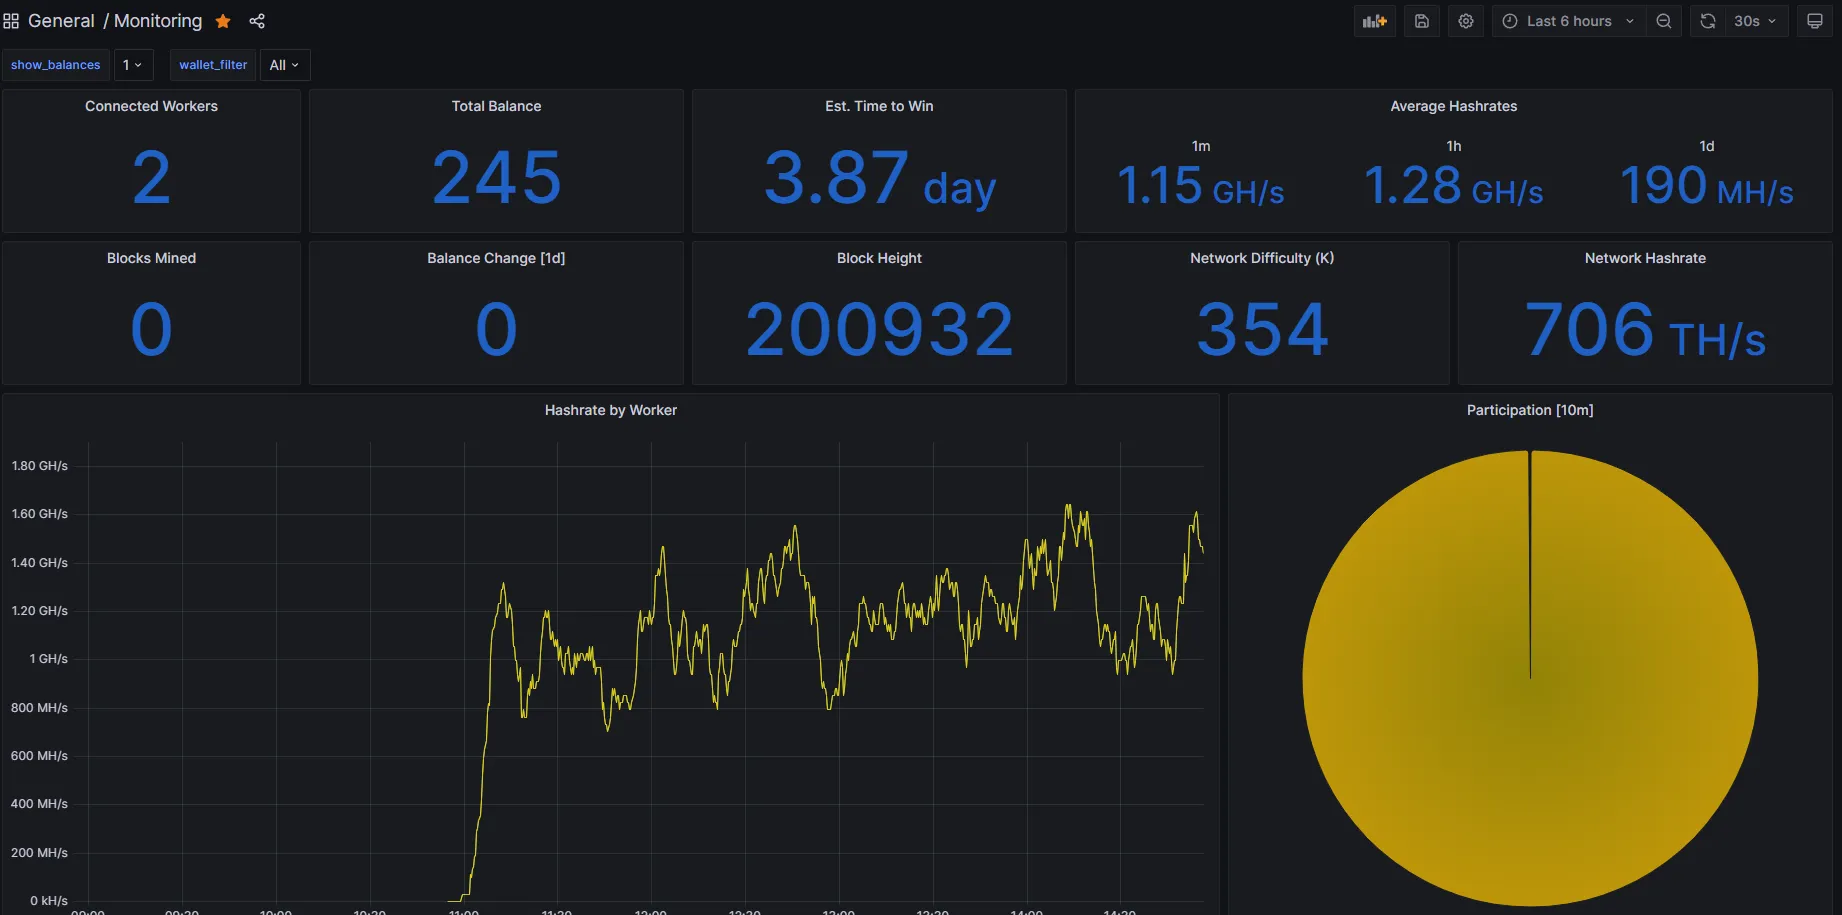
youripaddress:3000This will take you to the Grafana Dashboard of you node and show you the connected miners and some more nice calculations.
The login credentials are: admin admin for usename and password.
After you logged in it will ask you to change your password. Choose a strong one!
Now your node is online and running. Congratulations!
Last step setting up hiveos
Now that we got our Node up and running we can finally move over to hiveos and setup our Flightsheet.
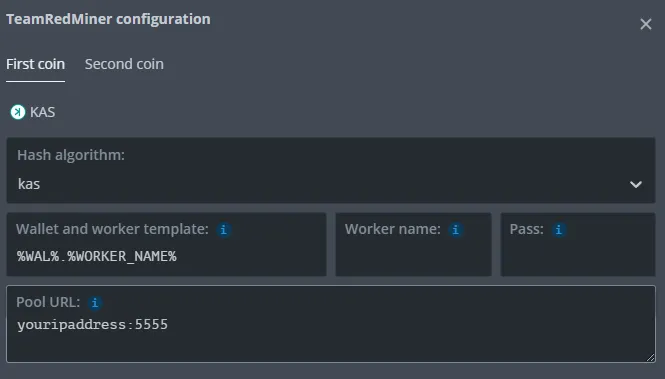
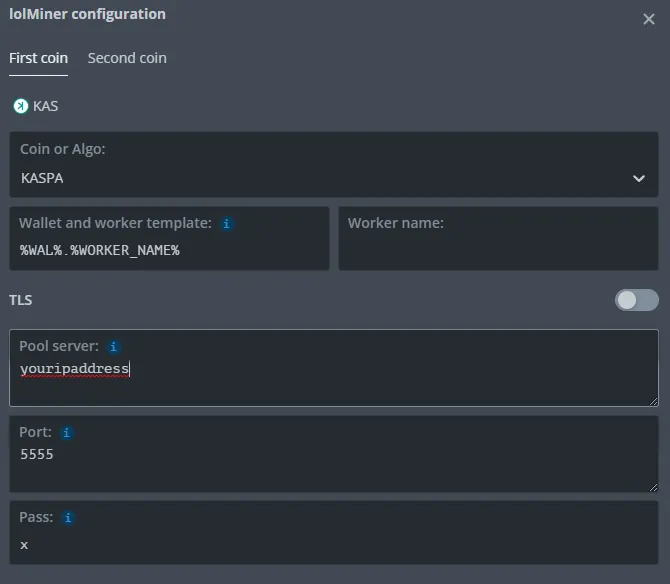
You don’t need to change that much in your Flightsheet you just need to adjust the ip address your miner is connecting to.
In this guide I did this using TeamRedMiner and LoLMiner but this should be easily adjustable to other miners aswell.
TeamRedMiner

LoLMiner

Congratulations your done!
When your miner is connected give it one or two hours so that your stratum can gather some data about your miner such as: Hashrate, Shares per minute and more. Your dashboard should look something like this